
McKelvey Brothers Shay #2

The McKelvey Brothers operated lumbering operations in southern Pennsylvania in the early part of the 20th century. In 1922, they acquired lumber rights along Blacklog mountain, and began building a 3' gauge lumbering railroad to handle that timber. This line connected with the East Broad Top at Orbisonia, in the area of the old iron furnaces. (They used one of the old furnace buildings as an enginehouse.) The McKelvey's lumbering operations prompted the EBT to build their iconic "Timber Transfer" at Mt. Union to transfer the cut timber from the narrow gauge cars to awaiting standard gauge cars.
The McKelveys began their operations on this line with a 55-ton Shay. It was a bit too heavy for the lightweight track the McKelveys were building, and spent an inordinate amount of time on its side. Instead, the McKelveys brought in their Shay #2 from another operation elsewhere, which was a lighter 36-ton model.

The McKelveys operated until 1928, ending major timber shipments over the EBT. The Timber Transfer would later regain a prominent role in the railroad's operations when the railroad used it to place standard gauge railroad cars on narrow gauge trucks to save the time and expense of transloading the freight from one to the other.
The Model:
This has been an idea that has been swimming around in my mind for 20 years, ever since Bachmann introduced their iconic model of the Shay. Oddly, at that point in time, I was still modeling in 1:24, so the Bachmann 36-ton Shay would have been prototypically too big. My idea then was to convert it to a model of McKelvey Brothers #3, which was the larger 55-ton Shay. I bought the Shay, and it sat. And sat. I eventually sold it off. Truth be told, I'm not really a huge Shay fan, at least not like some modelers, so it was no big deal. On to other projects.

Fast Forward to 2018 and a trip to Cass, WV to ride the train from Cass up to Bald Knob. Cass--for those who are unfamiliar--is the center of the universe for Shay lovers. It's an old logging line turned into tourist railroad. The grades are steep and the Shays earn their keep. Now, I have ridden behind Shays on other railroads. I've even ridden in the cab of a Shay when they were running on the Georgetown Loop. Like the models, they were cool, but nothing special. I don't know what it was about Cass, but the bug bit. Not hard, but certainly enough to give me an itch that I would need to scratch.

Not long after I returned from that trip, I found myself enjoying an afternoon at a friend's art gallery. He's a fellow garden railroader with whom I frequently barter back and forth for this or that. We got talking about my trip to Cass, and a Bachmann Shay he had sitting on his table. It was similar to the one shown above, but much more of a basket case. Whomever he got it from did a lot of ham-handed modifications to it and it was in dire need of a repaint. He said "take it." I wasn't going to argue. (It was well worth installing 20 pair of Kadee couplers on his box cars in exchange.)

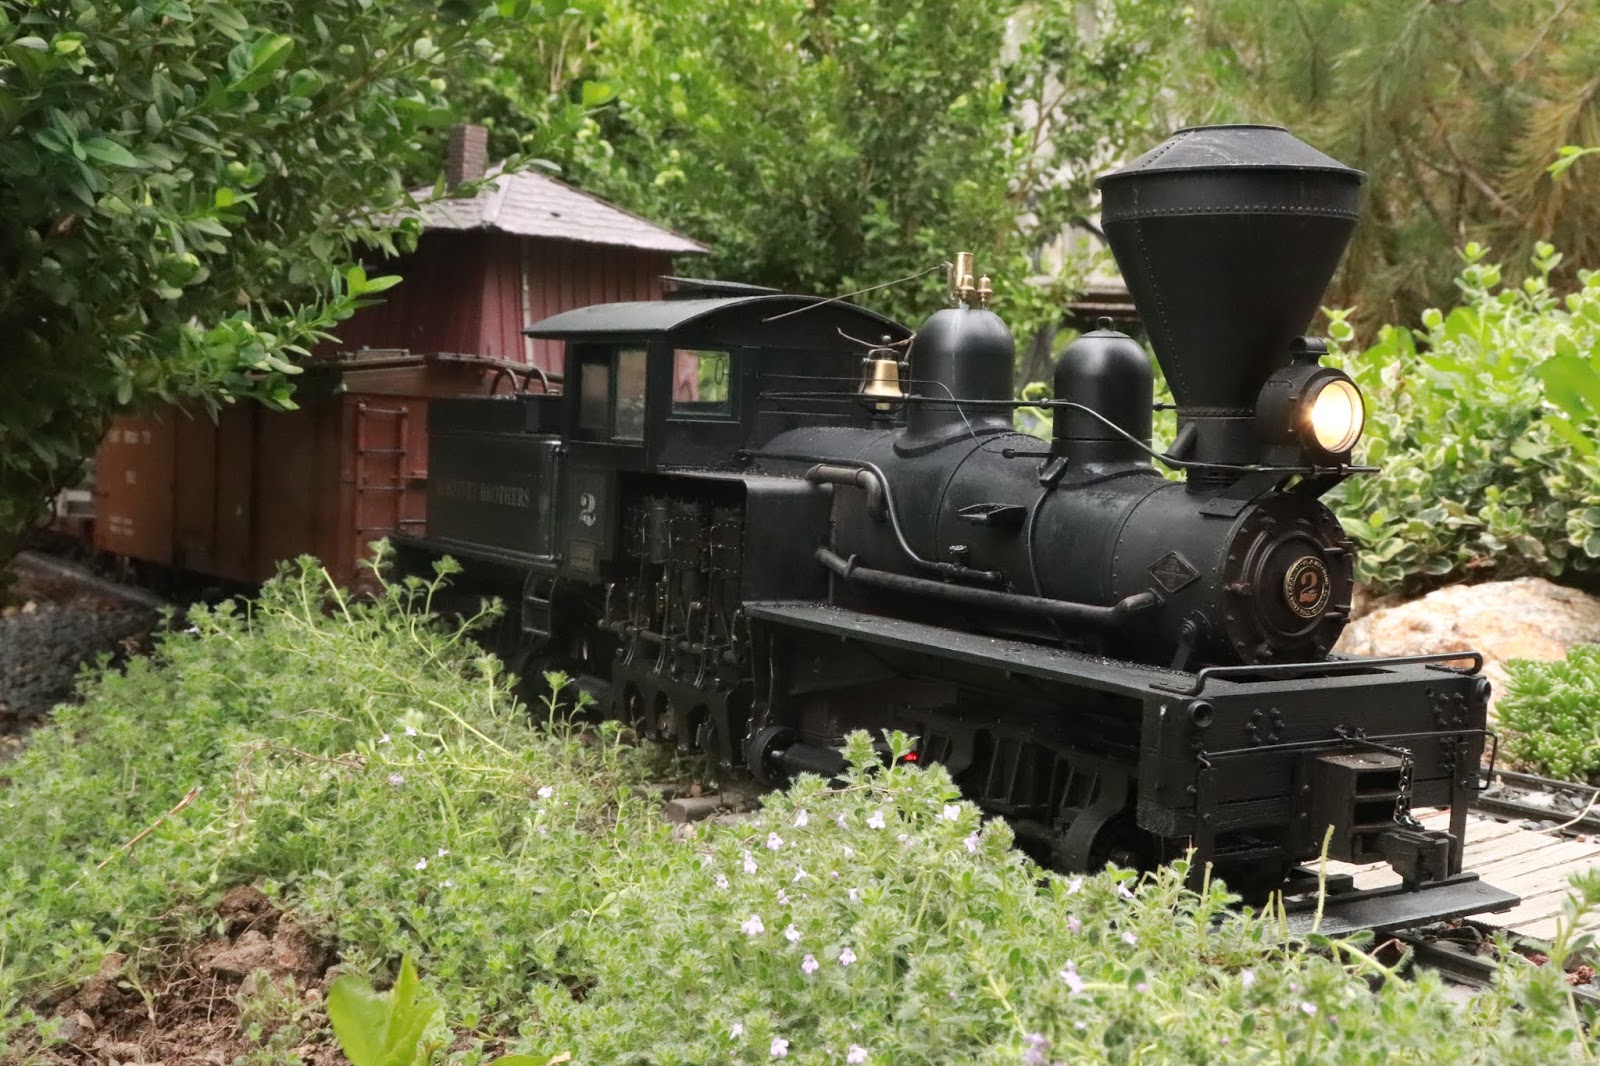
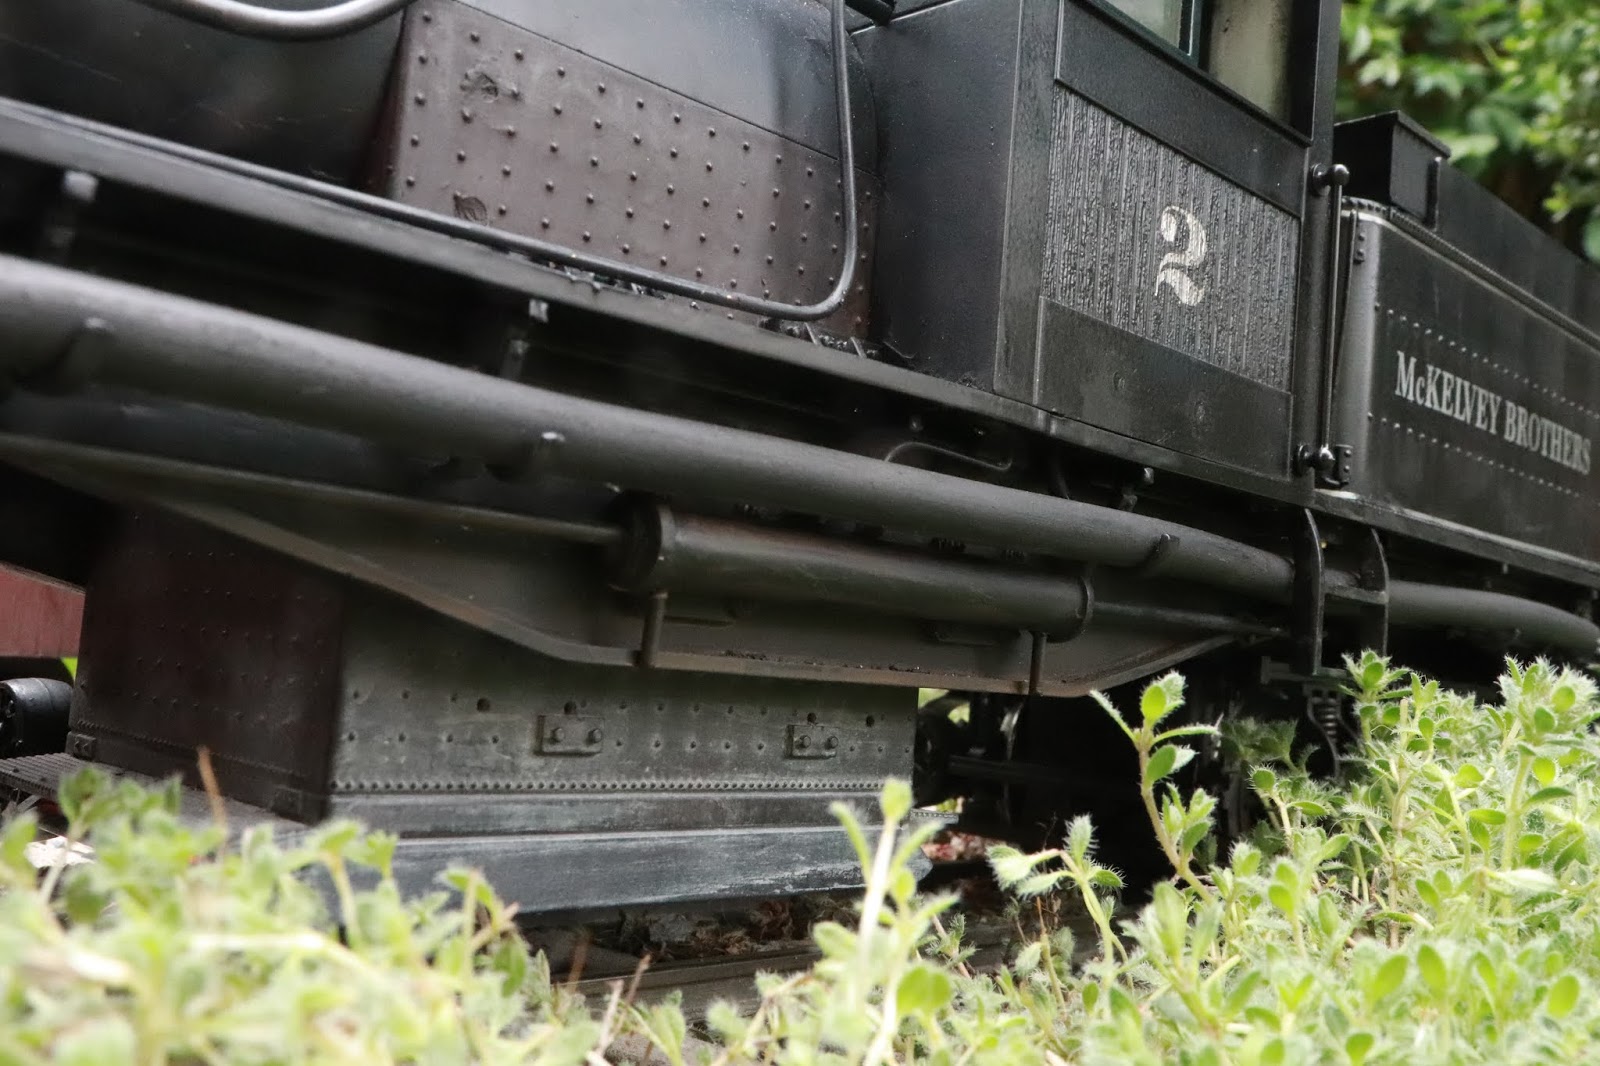
At this point, I'm firmly entrenched in modeling 1:20.3, so I have an easier task of modeling McKelvey Brothers #2, which is a 36-ton Shay very similar to Bachmann's model. The biggest difference between the two is the fact that the McKelvey Brothers Shay has a "fishbelly" steel frame that is thicker in the middle than on the ends. The Bachmann model is of an older Shay design with a straight frame and truss rods.

A little time with a cut-off wheel, some plastic, and putty, and the frame on the model was easily modified. The rest of the changes were very simple modification, mostly removing the air pump and air tank, and replacing it with a steam brake system per the prototype. The only other "significant" difference between the prototype McKelvey Brothers Shay and the Bachmann model is the location of the steam dome and bell. They're reversed relative to one another. Alas, I would have had to rebuild the tapered section of the boiler to match the prototype and that was more than I felt like tackling. Close enough for me.

After a new coat of paint, decals, and a quick trip to the weathering shop, McKelvey Brothers #2 is ready for service.

The cinders on the running boards and along the top of the boiler are done with fine coal dust, "glued" in place by painting the boards with paint then dusting the coal dust onto the paint while it's still wet. Cinders are everywhere on a steam locomotive...

I use a "jet black" acrylic paint for the soot, dabbled on with a stiff paintbrush. The step allows crews to reach the sand dome. I used powdered graphite to simulate the polished metal where the paint would be worn off from being used as a step.

I have to admit I've become something of a sound snob in the past few years, and I've been putting speakers in the boilers of my steam locomotives instead of in the tenders so that the sounds come from the loco itself (where they're supposed to come from) rather than a scale 20' behind the locomotive. The rather large smoke stack on this Shay makes an absolutely delightful speaker enclosure. I've also got a second speaker in the bunker for a bit of added bass.

I've also become a big fan of using "weathering pencils" for various effects. These are essentially watercolor pencils, though a bit softer. You can use them dry for streaks like this, or wet them and use them as a wash.

Shay cylinders are oily and greasy affairs. I used Vallejo's "Engine oil" paint to simulate the oil and grease. It's a glossy, dark translucent paint which really gives the look of oil.

A wash of dark brown acrylic paint on the frame gives it a dirty, dusty, and a bit grimy look to it.

Horizontal surface? Must have cinders.

I built a new coal load for the bunker. The base for the rear headlight is still there. I'll disguise it with a few blocks of wood at some point in the future. I wasn't in the mood to cut it away and have to putty everything over.

The coal load is removable so I can replace the battery when it goes flat. The control electronics and second speaker lie underneath it. Control is via a Soundtraxx Tsunami2 DCC decoder and Airwire receiver.

I gutted the factory electronics when I installed the new control system, but I still wanted the firebox glow. Red and orange LEDs do the trick. The cab and bunker were weathered with dark grey PanPastels.

The "B" side (B for "boring?") of the Shay. The hose is used to siphon water from nearby streams when needed.

Subtle weathering along the top edge of the coupler pocket where the paint would be worn off from stepping on top of it to get to the ladder, as well as the grab bar along the back edge. Sand dust around the sand bin fillers was done with light tan weathering pencils.

Overall, a rather fun, quick project. The engine is a delight to run, and the "3-cylinder" chuff mode on the Soundtraxx Tsunami2 decoder gives it that distinct Shay sound.

With that, McKelvey Brothers #2 is ready to haul timber along Shade Gap once more.
posted by Kevin Strong | 01:46
|
1 Comments
![]()


